How to Make Coloring Pages from Photos with AI
By InkPages Editorial · August 27, 2026
Want a coloring page based on your own pet or a familiar place? The coloring page maker can create a new black-and-white illustration from a photo you have the right to use. Start with a clear subject, choose a line style, and inspect the result before printing.
This guide covers the current controls, an existing photo-to-line-art example, and the limits to consider before uploading. Generation time varies; there is no guaranteed twenty-second result.
The same approach works for classroom handouts from a field-trip photo, party activities from a birthday snapshot, or a quiet evening activity for adults who want to color their own vacation memories.
What an AI generator actually does
InkPages creates an illustration from a photo, a written description, or both. It is not an exact tracing: the output can simplify or change features. The existing input/output samples show the kind of result to inspect before deciding whether to use a personal photo.
The maker offers Simple, Extra Bold, Cartoon, and Detailed styles. Choose the amount of detail that suits the person coloring. Trying a different style generates another result and uses credits again, so inspect the first page before continuing.
Pick a photo that converts well
The generator does its best work with the right input. The same rule holds whether you use our tool or any other:
- One clear subject. Make a pet, person, or object large enough that you can inspect its important features in the result.
- Even light and contrast. Choose a photo in which the subject is easy to see before you upload it.
- A plain background. Crop out surrounding objects you do not want in the page.
- Enough resolution. Inspect the source at the size you plan to use; generation cannot guarantee recovery of missing detail.
Photos that struggle: very busy scenes with overlapping objects, dark or blurry shots, and tiny faces in a crowd. If your first result looks messy, crop closer, brighten the photo, or pick a bolder line style. Our photo-to-coloring-page tips guide goes deeper on fixing weak inputs.
Step by step: from photo to printable page
The short version:
- Open the maker and upload. Sign in, then choose a JPG, PNG, or WebP under 9 MB. Crop out material you do not want in the illustration.
- Choose a line style. Simple or Extra Bold for young kids; Cartoon for play; Detailed for older kids and adults.
- Generate and inspect. Check outlines, important features, and whether the spaces are large enough to color. To try another direction, change the style or description and generate another page; there are no separate line-thickness or detail sliders.
- Download and print. Save as PDF or PNG. The PDF is sized for US Letter and can also be printed on A4; check your printer’s fit-to-page setting.
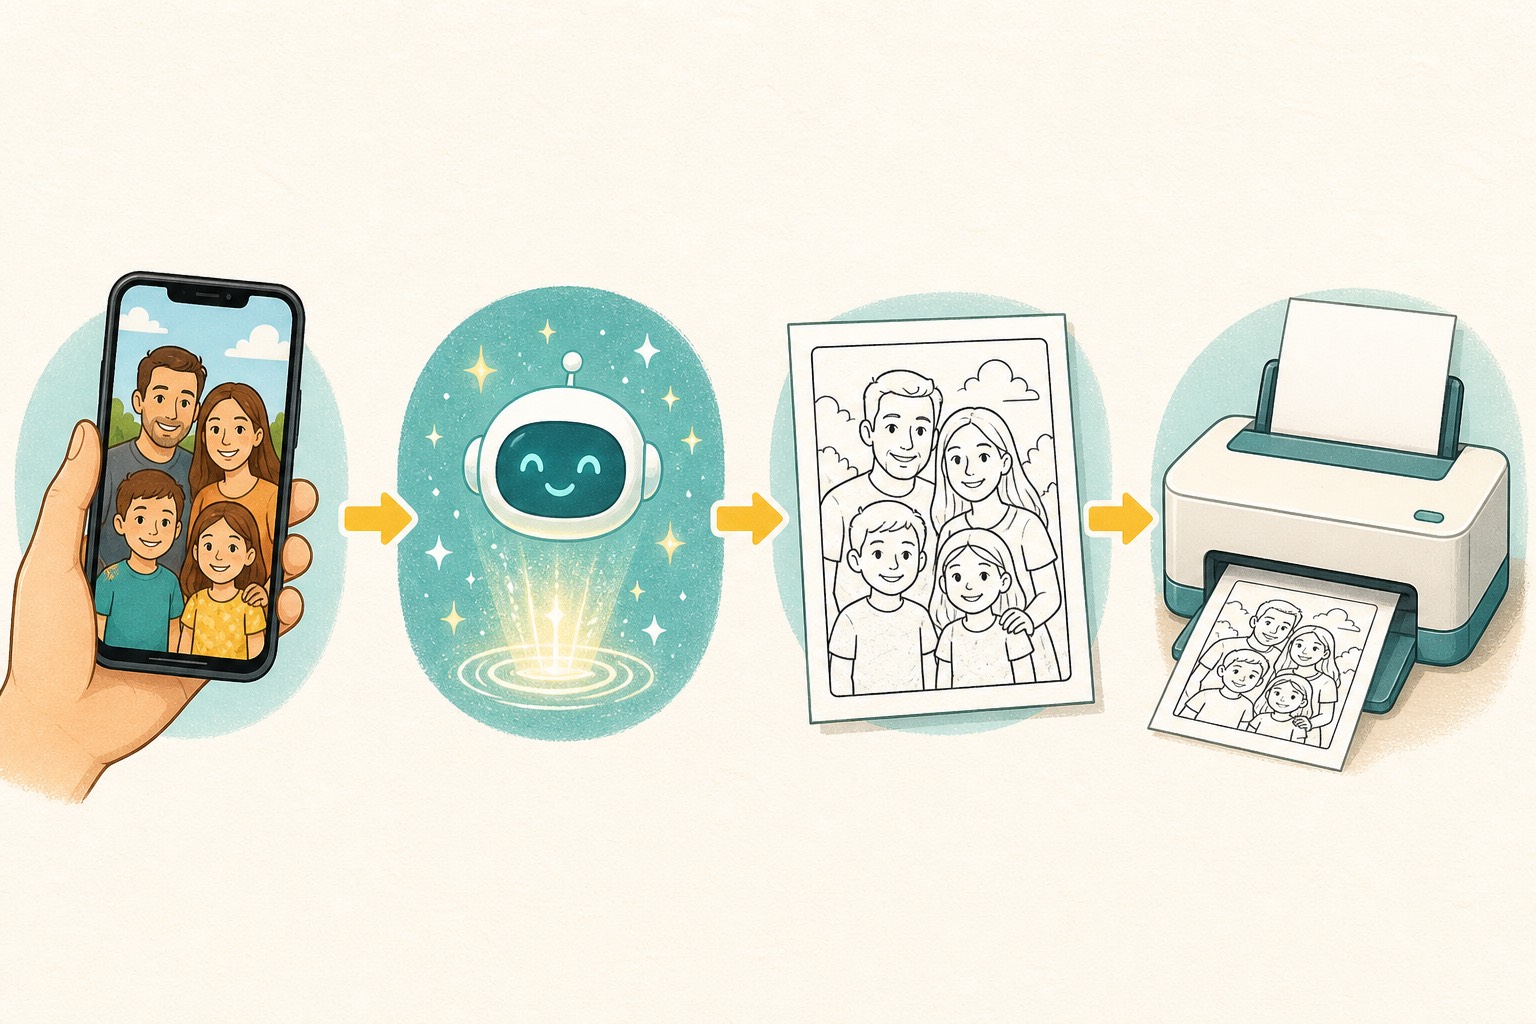
This workflow image is an illustration. For a product sample, compare the dog input and generated output below.
A full walkthrough of turning a set of photos into a bound gift book is in our photo coloring book gift guide.
AI generator vs doing it by hand
| Method | What to check | Useful when |
|---|---|---|
| AI maker | The illustration may change details; another result uses credits | You want to explore a stylized page from a photo or idea |
| Sketch filter | Inspect shadows and texture left in the lines | You want a quick starting image to clean up |
| Manual image editing | You choose what to keep and remove | You want control over individual lines |
| Hand tracing | You choose the outline and detail | You prefer to work without uploading the photo |
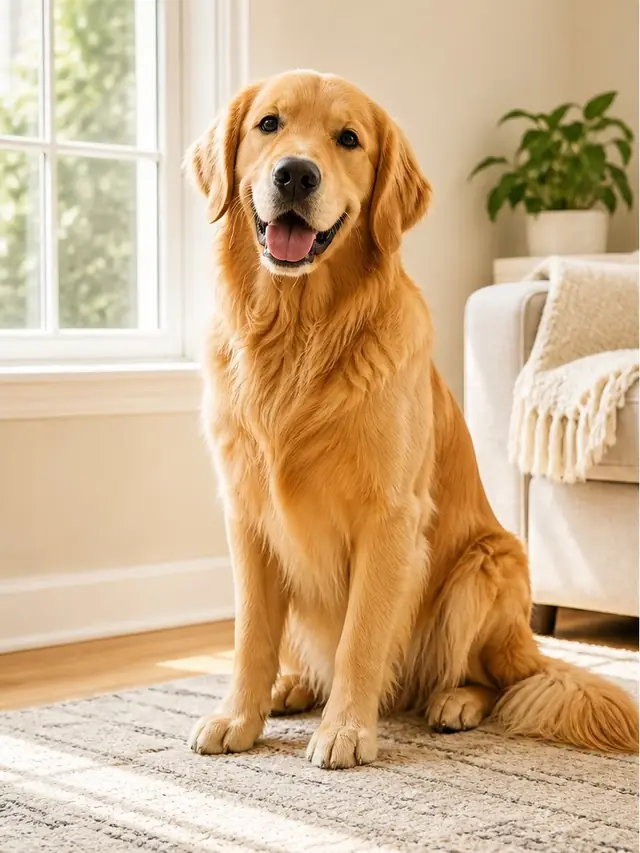
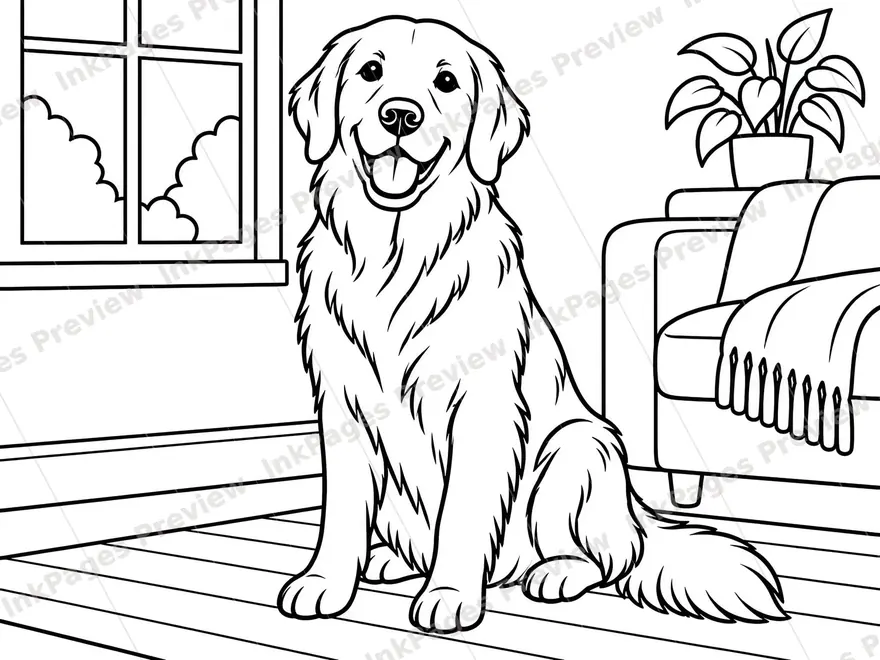
This pair is the existing dog sample shown on the tool page. Its preview stamp is visible on-site; downloaded results use the clean file. It is an example to compare with your needs, not a promise that the tool will preserve every detail of another photo.
Common problems and quick fixes
The first result may be unsuitable for printing. Use these checks to decide whether another input or style is worth trying:
- Lines are too faint or broken. Check whether the source is dark or low-contrast. A clearer input or bolder line style is an option to try, with no guarantee of a usable result.
- There is too much detail or noise. Crop out unwanted background objects or choose Simple instead of Detailed before making another attempt.
- Facial features look wrong or missing. Check whether the face is small, obscured, or hard to see in the source. Consider a closer, well-lit portrait, but do not expect exact identity preservation.
If you fix the input and the output is still weak, the photo itself may be the wrong candidate. Move on to a clearer shot rather than fighting a poor source.
Credits, rights, and privacy
Custom generation requires sign-in. New accounts start with 15 credits, and each result uses 2 credits; another attempt uses credits too. The pricing page lists the current allowance and packs. Browsing and downloading the ready-made gallery does not use generation credits.
Upload a photo you own or have permission to use. The US Copyright Office’s permission guidance explains that changing another person’s work does not by itself give you ownership. The InkPages privacy policy says uploaded photos are processed to make the page and may be stored temporarily to deliver it. Avoid sensitive images, and let a parent or guardian handle children’s photos and accounts.
Printing without wasting ink
Once you have the line art:
- Print one test copy first. Check the actual line detail at the size you want; exporting a PDF does not create detail that is absent from the image.
- Compare grayscale and draft settings. Draft can save ink but may make faint lines harder to see.
- Test your paper with your markers. Thicker paper may help, but no paper choice guarantees that ink will not bleed through.
- Print more copies only after checking the first. A few chosen pages can be bound into a gift booklet.
Why this is worth it for kids
A familiar subject can give a child something to talk about while choosing colors. NAEYC’s fine motor guidance lists drawing and scribbling with crayons, pencils, and markers as ways to practice hand coordination. A printed page is one option alongside blank paper and other activities; it does not guarantee a particular school or developmental outcome.
Frequently asked questions
Can an AI generator turn any photo into a coloring page? It works best with a clear single subject, good light, and a simple background. Busy, dark, or blurry photos produce weak lines, so crop closer or pick a different shot.
Is the finished page mine to print and give as a gift? Use photos you own or have permission to use. Converting an image does not remove the source owner’s copyright; if the rights are unclear, choose another photo or ask the owner.
What paper and settings give the cleanest print? Download the PDF or PNG and print one test copy on A4 or US Letter. Check fit-to-page, line detail, and whether your coloring materials bleed through before printing more.
How is an AI generator different from a basic edge-detection filter? A sketch filter and the maker can produce different kinds of line art. InkPages creates a new illustration, which can change details; inspect a sample and the generated page rather than expecting an exact tracing.
Ready to color?
Browse hundreds of free printable coloring pages.